The setup guide
Ten short steps that get you ready to send your first estimate. Each step shows only the settings it needs, saves as you go, and links to the full Settings page if you want more.
How the setup guide works
- It opens the first time you sign in. Later, press Continue setup on Today, or Open the setup guide at the top of Settings.
- The list on the left shows every step. A green tick means done. Pick any step, in any order.
- Next saves and moves on. Skip for now moves on without saving. Finish later closes the guide.
- Steps marked (optional) can wait. Five are needed before you work: kinds of work, your business, prices and deposit, getting paid, and a subscription.
Until every needed step is done, a Finish setting up card on Today and in Settings lists what is left.
1. Kinds of work
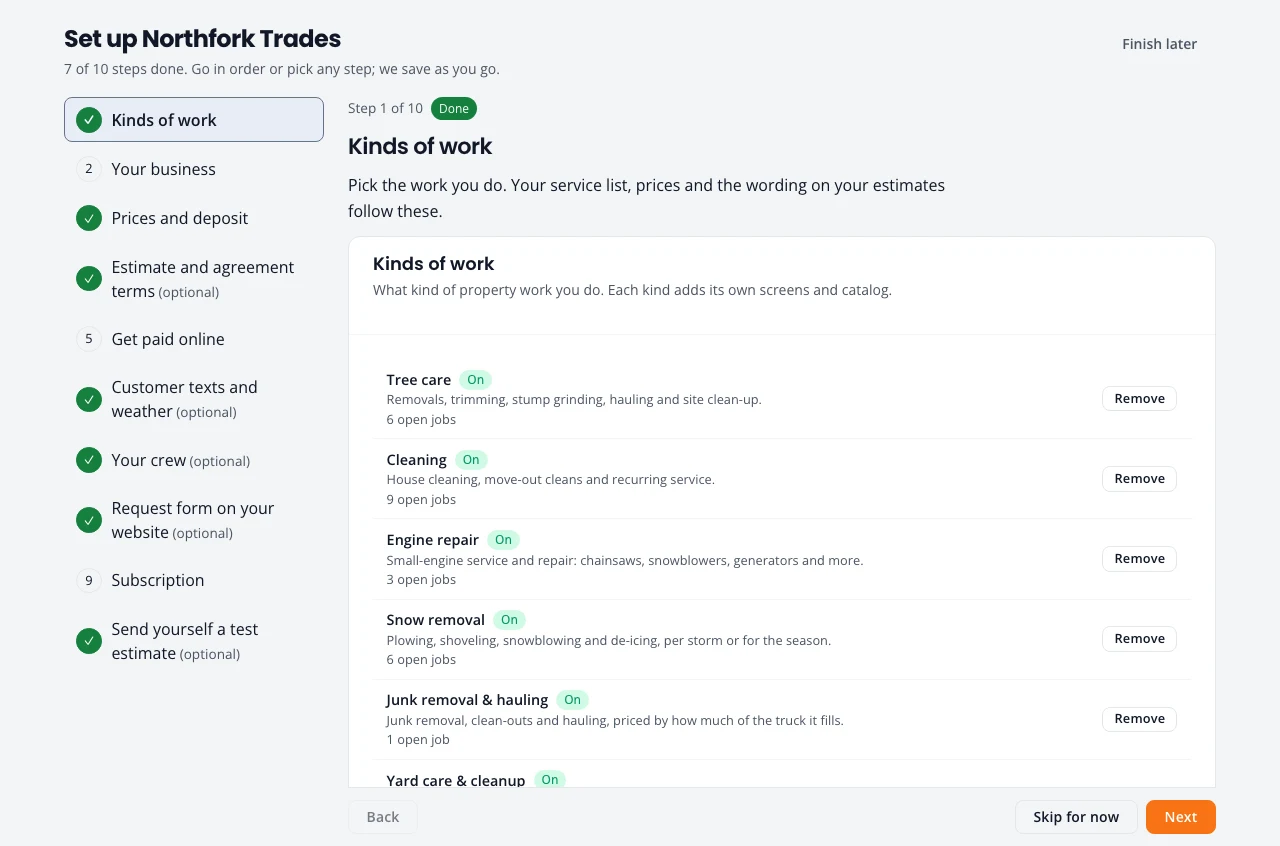
Your kinds of work decide your price list, the questions an estimate asks and the wording customers read. The ones you picked at sign-up show On. Press Add next to another kind to turn it on; it arrives with a starter price list. Remove hides a kind from new work; jobs you already have stay.
2. Your business
What goes on every estimate, agreement and email:
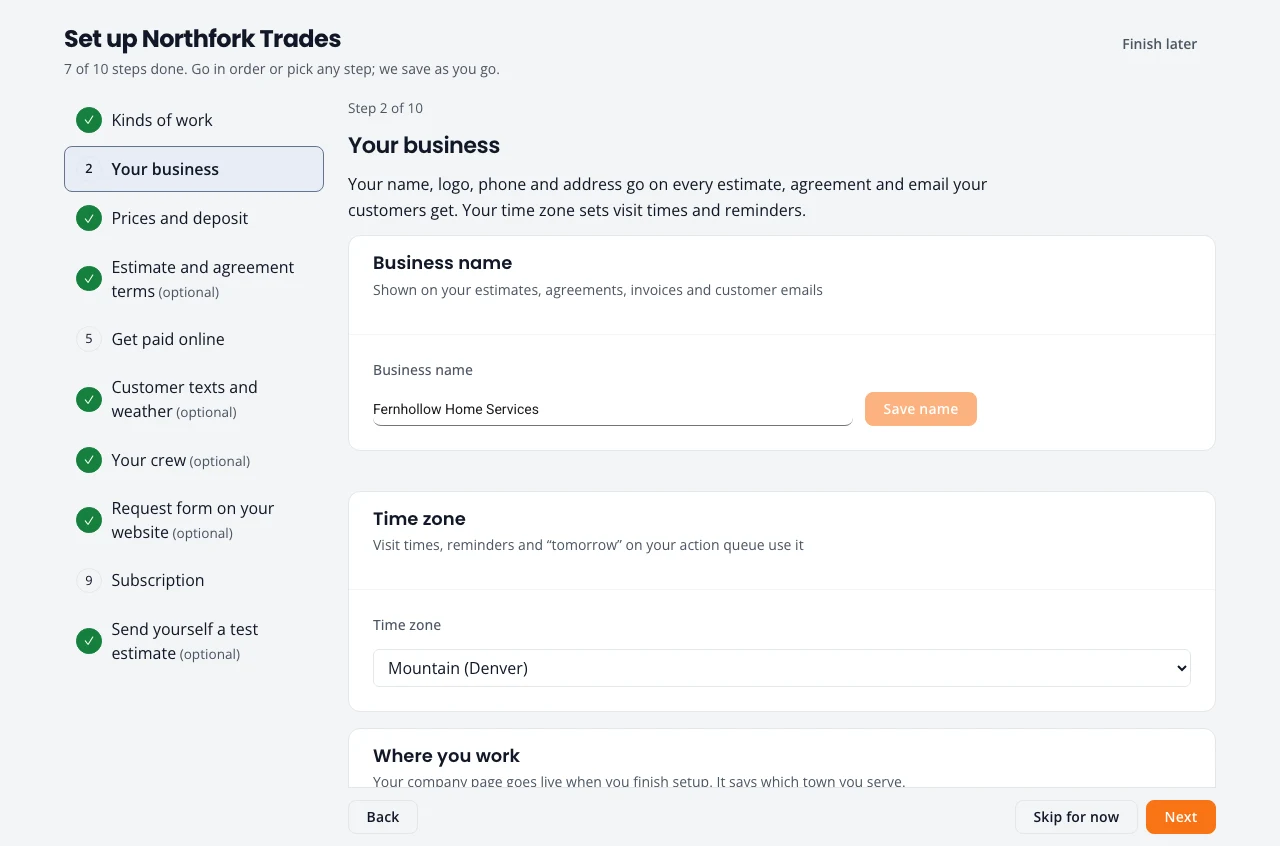
- Business name and your Time zone. The time zone sets visit times and reminder times.
- Where you work: your main town. Your website goes live when you finish setup and says which town you serve. Add more towns later under Website.
- Logo, colors, and the phone, email and address printed on customer emails.
- Letterhead for your agreements. Import from Word reads the header of a Word document you already use and fills in the fields; nothing is saved until you press Save.
3. Prices and deposit
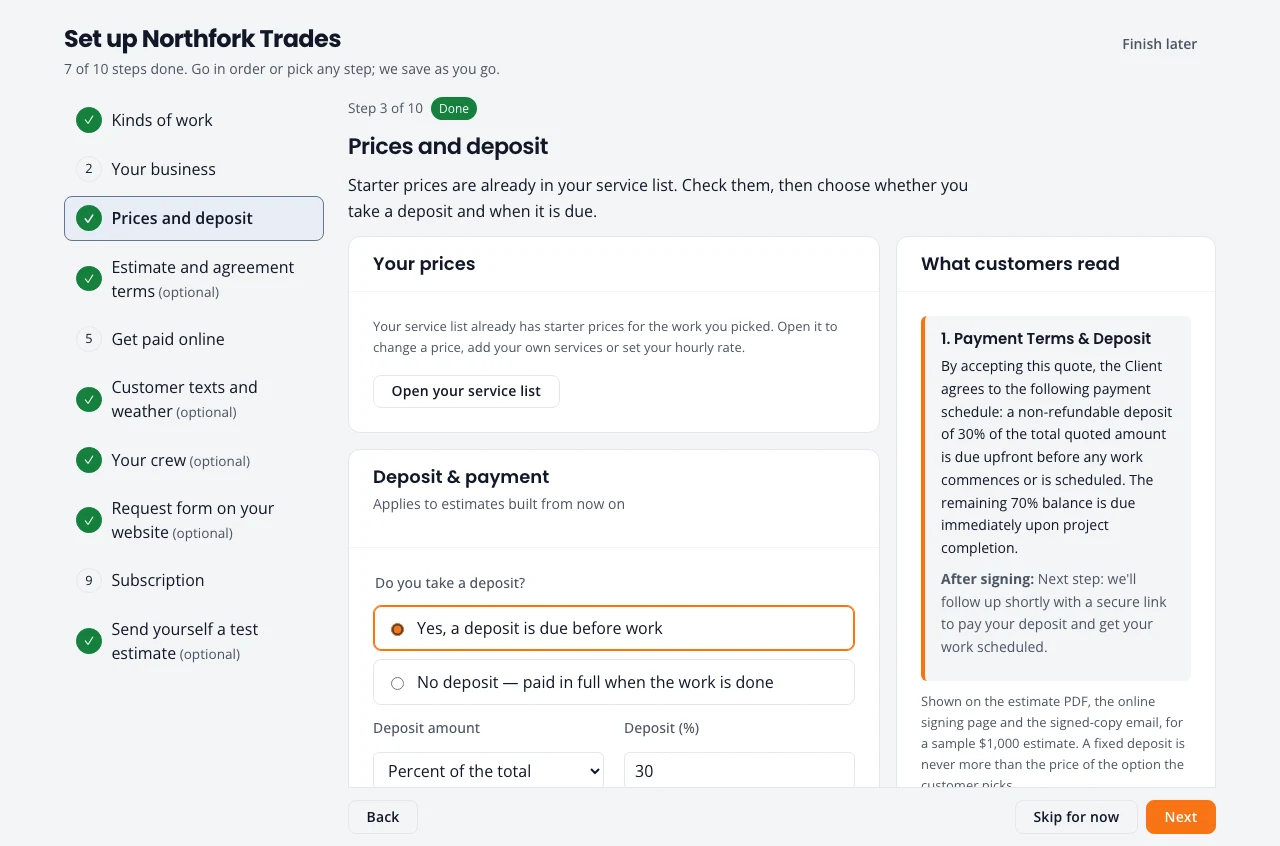
Your price list already has starter prices for each kind of work. Press Open your service list to check them (see Prices). Then decide whether you take a deposit, how much, and when it is due. What customers read on the right shows the payment wording your choice produces.
4. Estimate and agreement terms (optional)
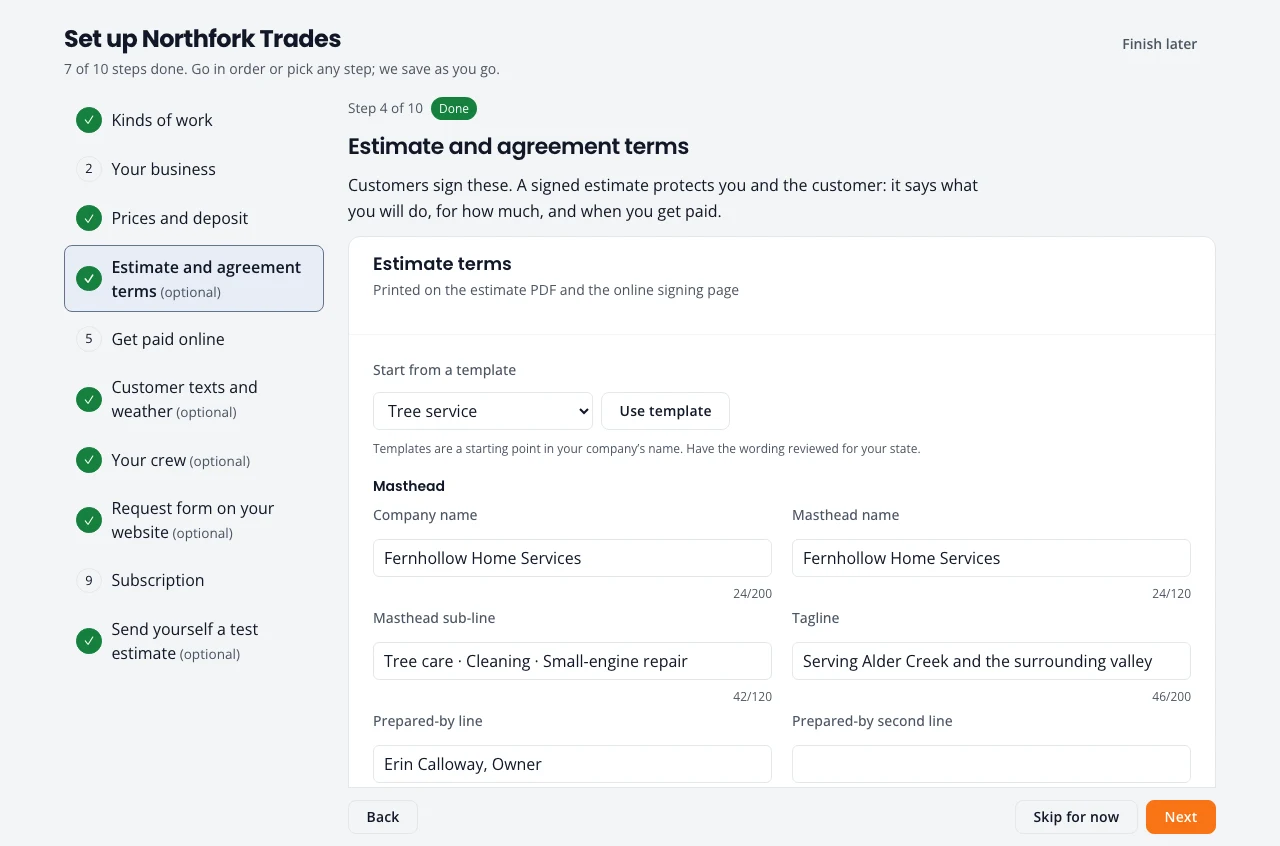
The terms printed on every estimate and on the page where customers sign. Start from a template (general, tree service or cleaning) and edit it in your company’s name. Have the wording reviewed for your state. If you also want customers to sign a separate service agreement after the estimate, switch it on here.
5. Get paid online
Customers pay deposits and invoices by card or bank transfer, straight to your bank account. Stripe handles the money. Press Connect with Stripe and Stripe asks for your phone, bank account and an ID; it takes about five minutes and stays inside Northfork Trades. Until you connect, customers can still sign estimates and pay you by cash, check or the ways you list.
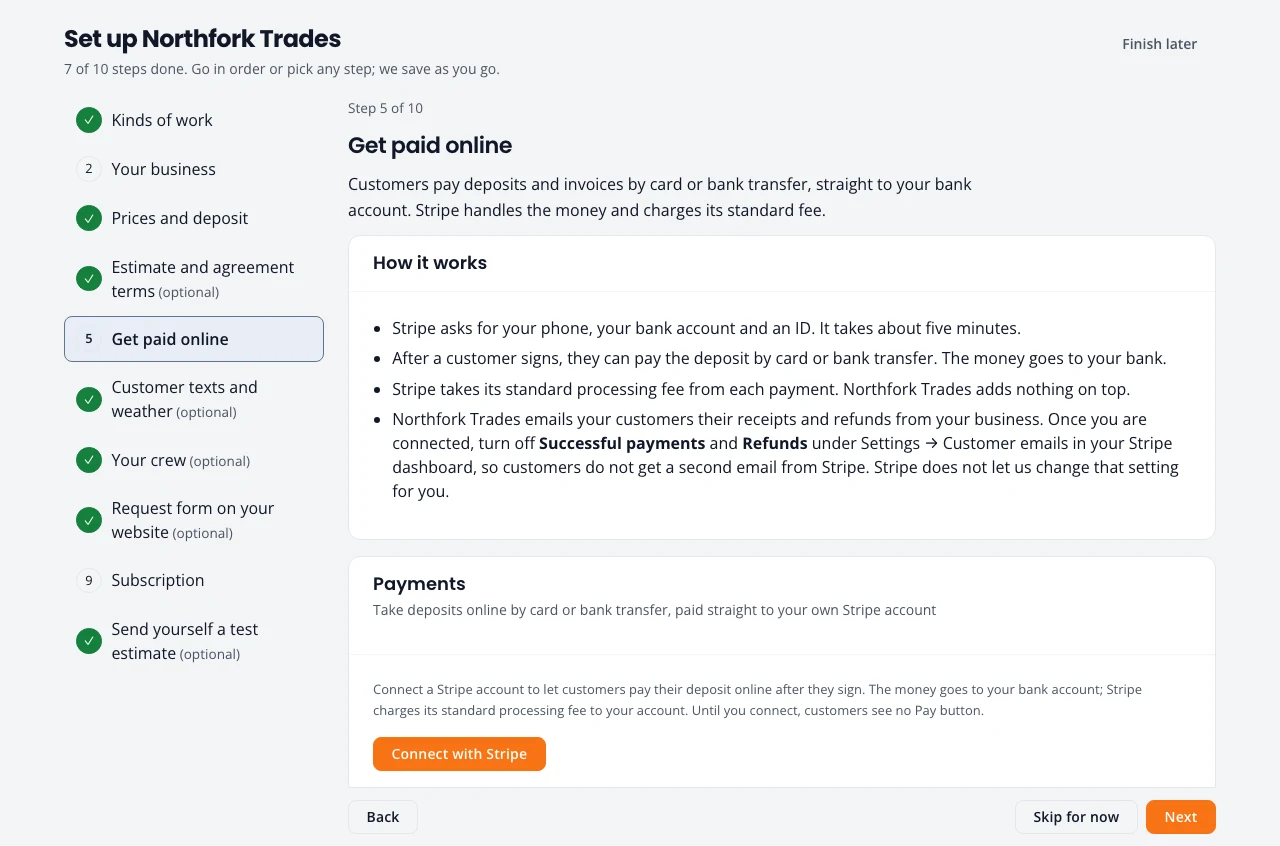
More on fees, refunds and other ways to pay: Getting paid.
6. Customer texts and weather (optional)
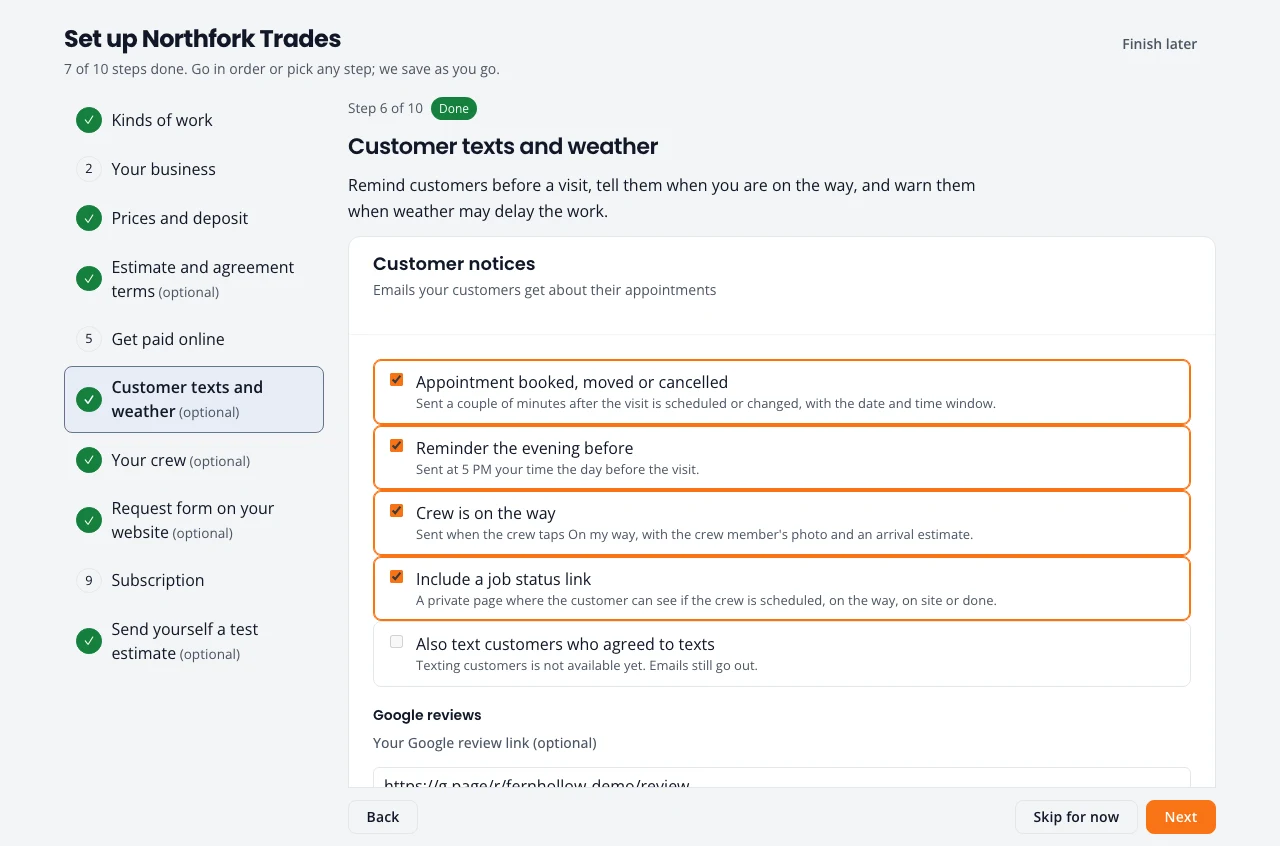
Choose which emails customers get: when a visit is booked or moved, a reminder the evening before, and when the crew is on the way. Add your Google review link and switch on review requests. Switch on weather warnings to hear when storms, wind or extreme cold may affect a visit.
7. Your crew (optional)
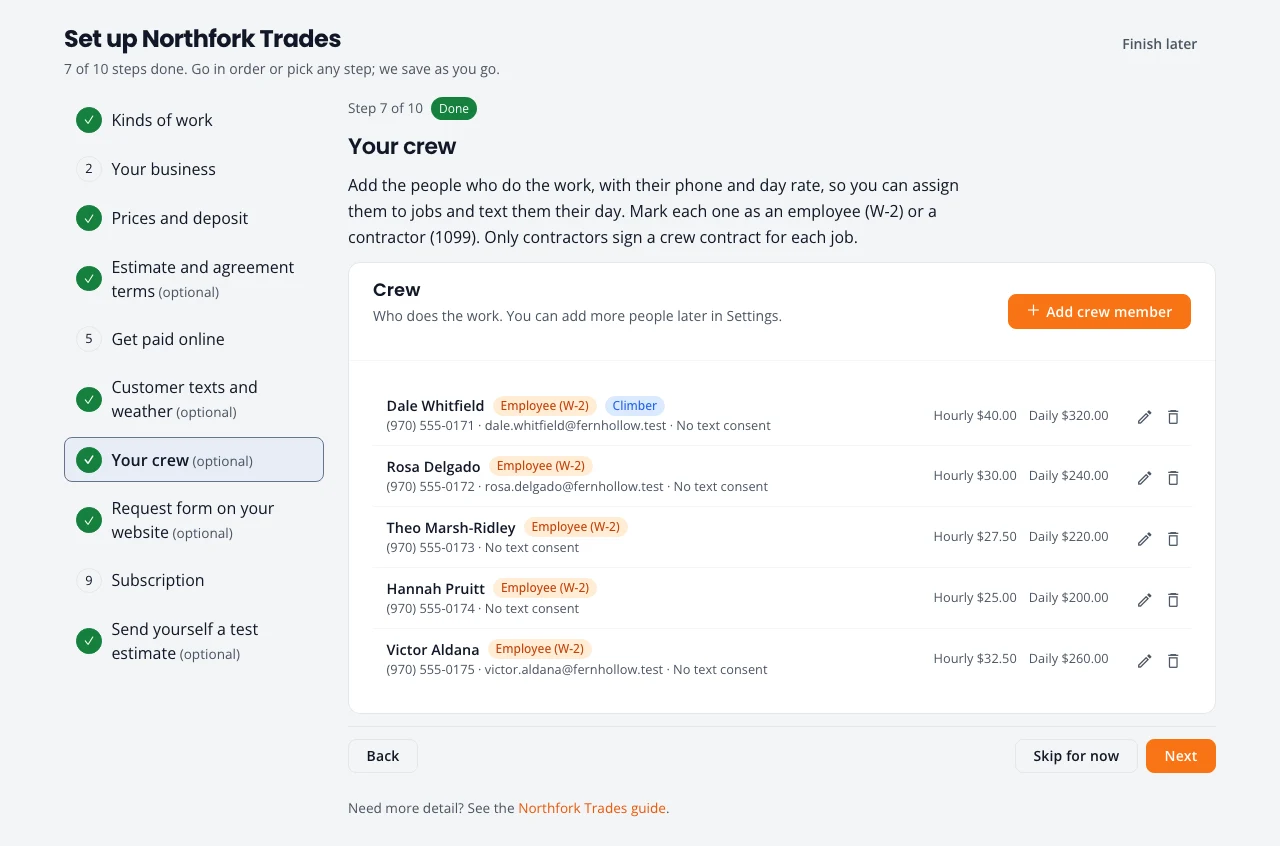
Add the people who do the work, with phone and pay rate, and mark each one as an employee (W-2) or a contractor (1099). Only contractors sign a crew contract for each job. See Crew and team logins.
8. Request form on your website (optional)
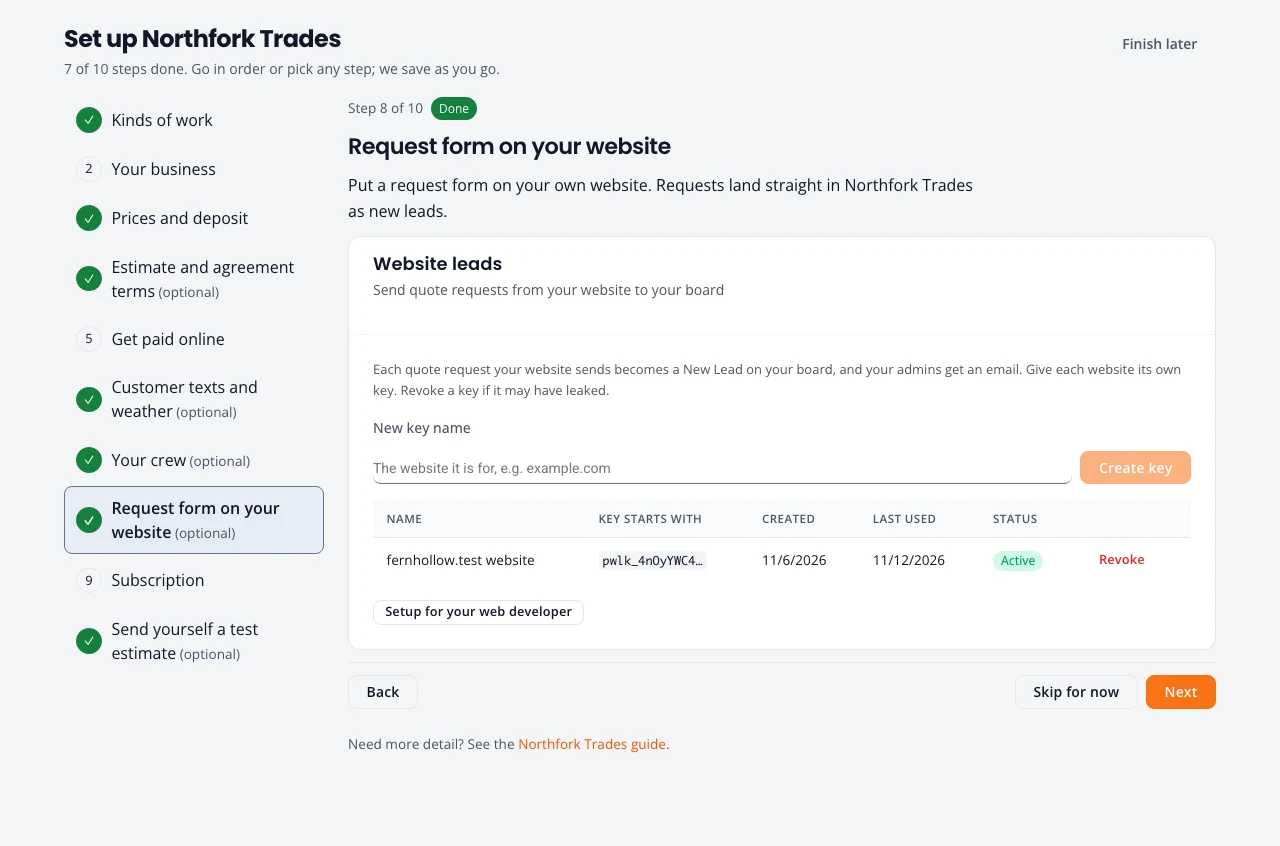
Only if you already have a website of your own. Make a key, give it to whoever runs your site, and requests from its form land in Northfork Trades as new leads. If you do not have a website, skip this: Northfork Trades makes one for you (see Website, booking and Get found).
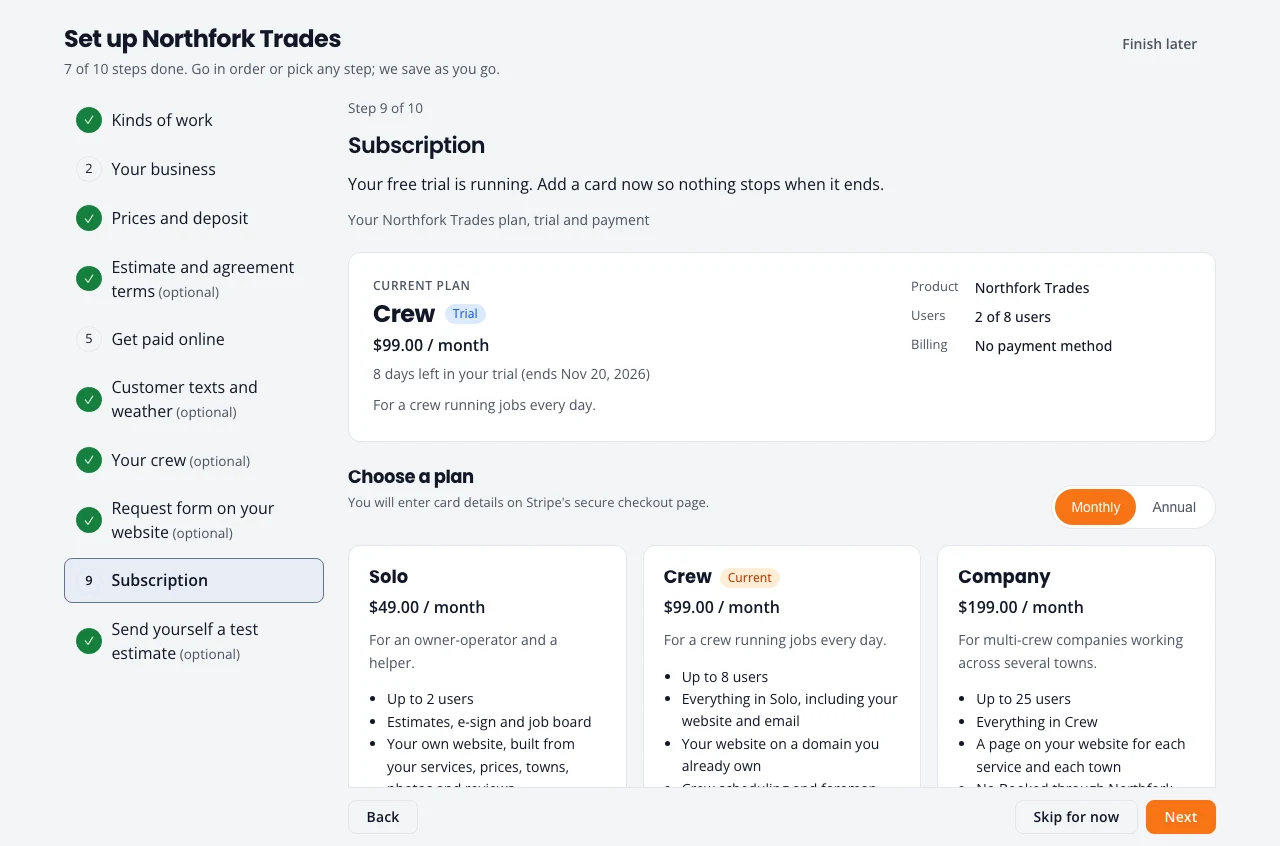
9. Subscription
Pick a plan (Solo, Crew or Company, monthly or yearly) and add a card on Stripe’s checkout page. Your trial keeps running until its end date either way.
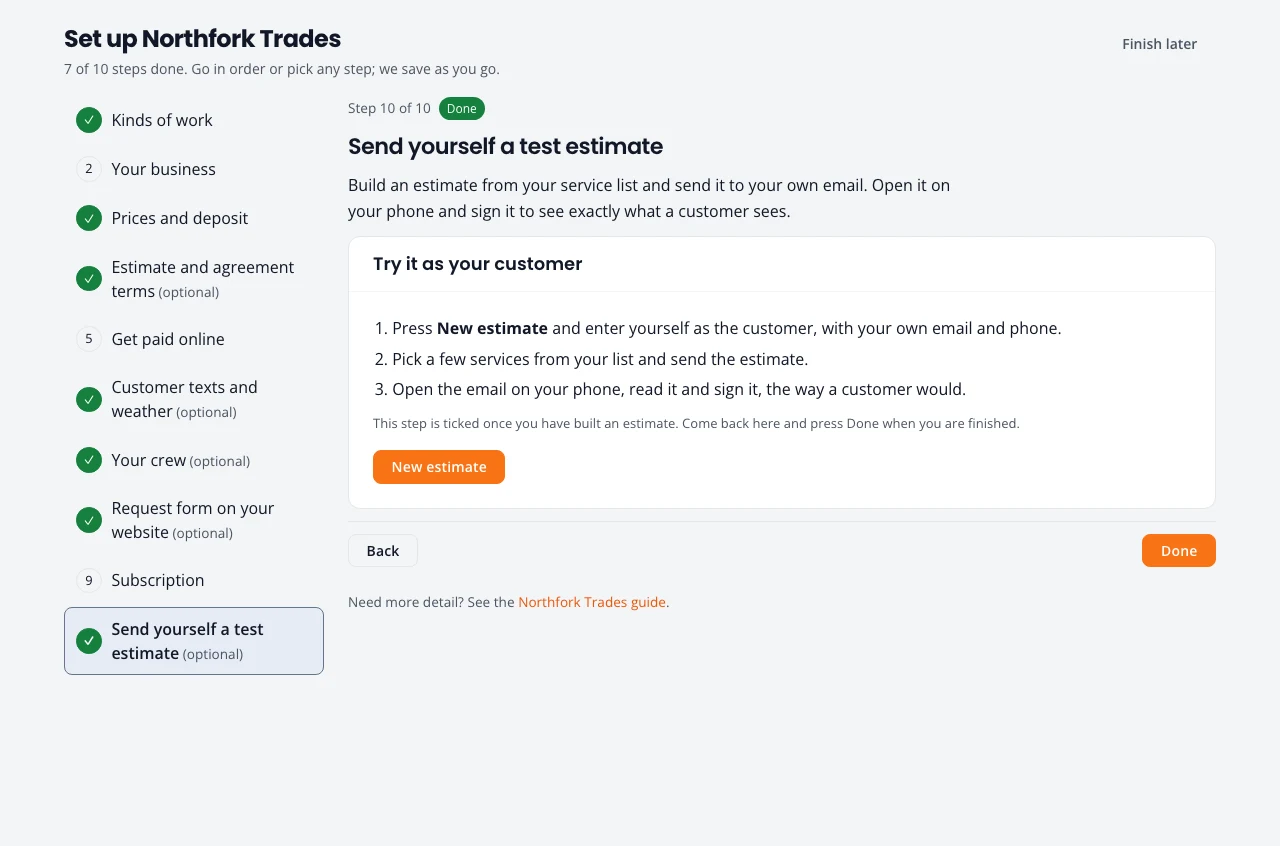
10. Send yourself a test estimate (optional)
Press New estimate, enter yourself as the customer with your own email, pick a few services and send it. Open the email on your phone and sign it. You see exactly what a customer sees. The step ticks itself once you have built an estimate.
When you finish
Press Done. Your website goes live. If it still needs something, such as a one-line description or your towns, Today lists what is missing and the site goes live once you add it. Everything in the guide can be changed later under Settings.
Stuck on something? Email support@northforktrades.com and tell us what you were trying to do.